5 Ways to Add Sorting Dropdowns in Excel Easily

Sorting data in Excel is a fundamental task for anyone working with spreadsheets. Whether you're managing large datasets, organizing sales reports, or handling inventory, having your data sorted can save time and provide clarity. In this blog post, we will explore five simple methods to add sorting dropdowns in Excel, making data management more intuitive and efficient.
Method 1: Using Data Tab’s Sort Feature
The simplest method to add sorting functionality involves Excel’s built-in Sort feature:
- Select the range of data you want to sort.
- Navigate to the Data tab.
- Click on Sort in the Sort & Filter group.
- Add levels for sorting, specifying the column you wish to sort by and the sorting order.
- Click OK to apply the sort.

💡 Note: This method does not create a dropdown, but it provides an easy way to sort data directly.
Method 2: Using Table Filter
Converting your data into an Excel table offers an instant sorting dropdown:
- Select your data range.
- Press Ctrl+T to convert it into a table.
- Excel automatically adds filter dropdowns in the header row.
- Click the dropdown in the column you want to sort, and choose Sort A to Z or Sort Z to A.
💡 Note: Once data is in a table, sorting becomes dynamic, updating as new data is added or existing data changes.
Method 3: Custom Sorting Dropdown with VBA
For a more customized approach, you can use VBA to create a dropdown that triggers sorting:
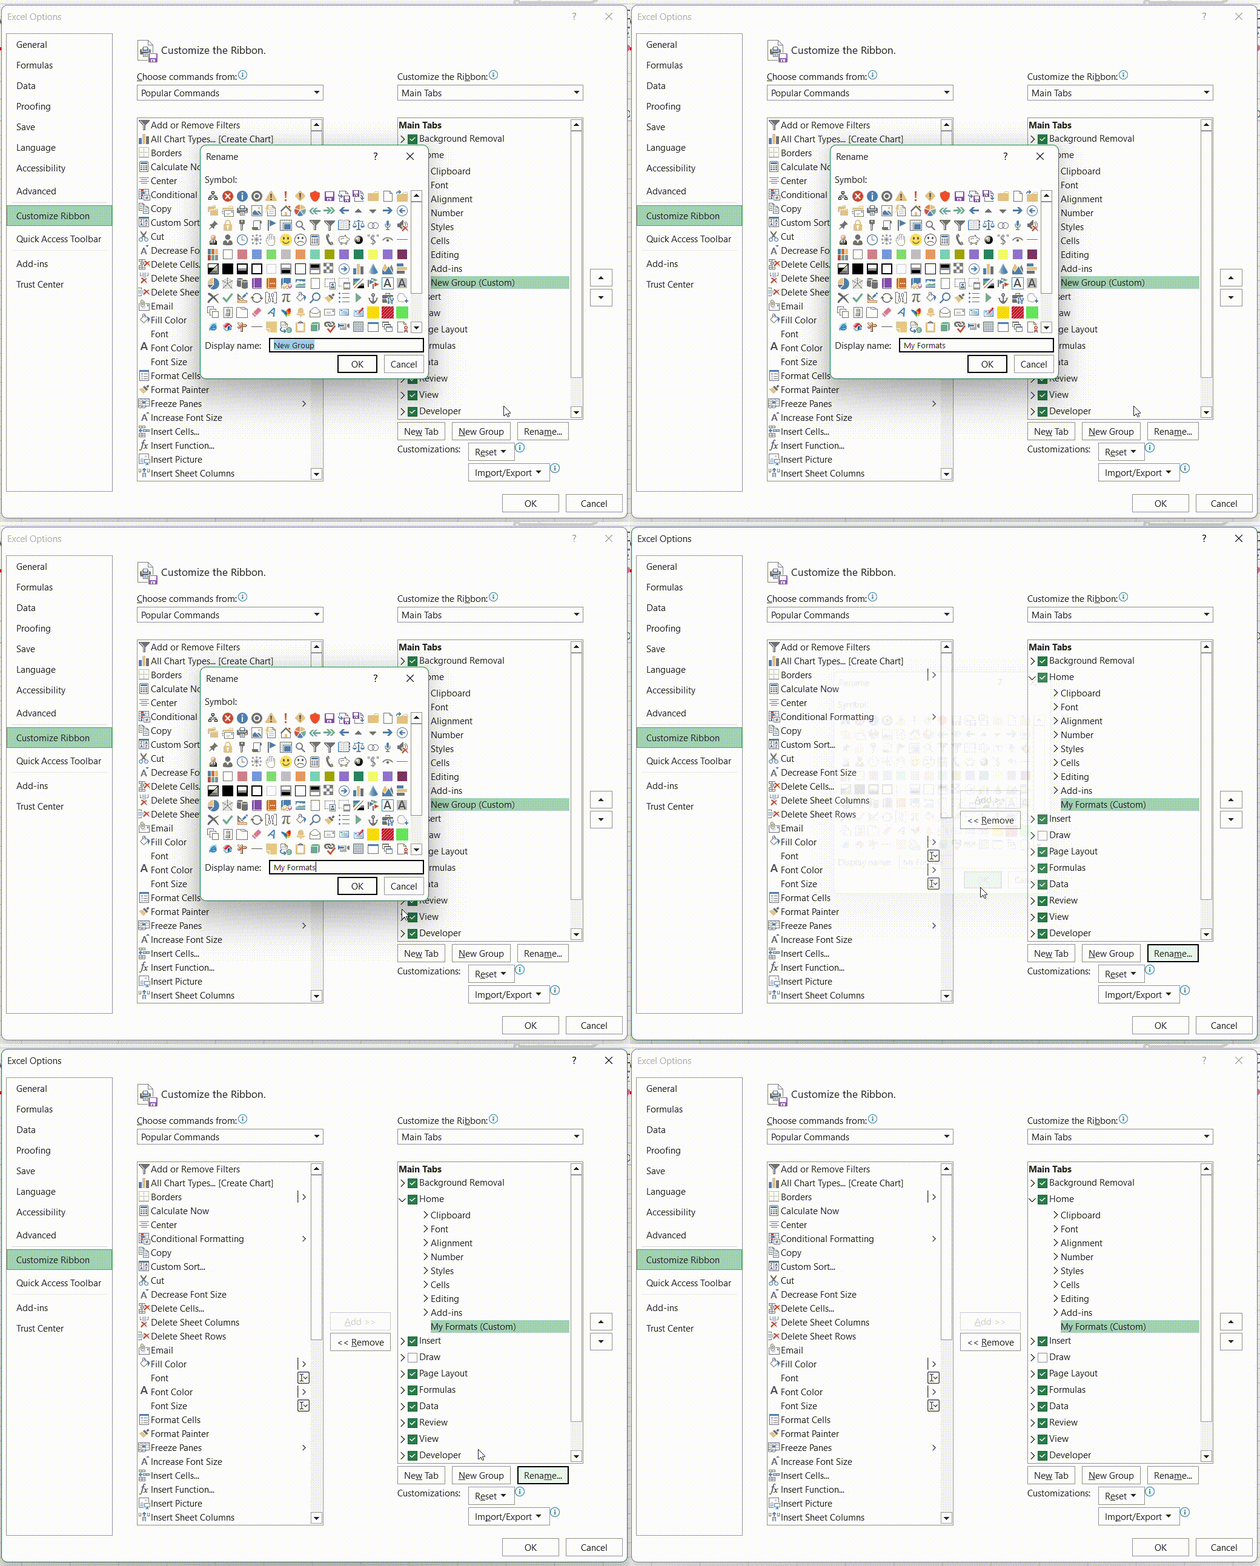
- Go to the Developer tab (enable if not visible via Excel Options).
- Click Visual Basic or press Alt+F11.
- Insert a new module.
- Paste the following VBA code:
Sub AddSortDropdown() Dim ws As Worksheet Dim ddList As DropDown Dim btnSort As Button Set ws = ThisWorkbook.Sheets(“Sheet1”) Set ddList = ws.DropDowns.Add(100, 10, 150, 20) ddList.AddItem “Sort A to Z” ddList.AddItem “Sort Z to A” Set btnSort = ws.Buttons.Add(300, 10, 75, 25) btnSort.Caption = “Sort” btnSort.OnAction = “SortData” End SubSub SortData() Dim ddList As DropDown Set ddList = ThisWorkbook.Sheets(“Sheet1”).DropDowns(1) Select Case ddList.ListIndex Case 1 ActiveSheet.Sort.SortFields.Clear ActiveSheet.Sort.SortFields.Add2 Key:=Range(“A2:A10”), SortOn:=xlSortOnValues, Order:=xlAscending, DataOption:=xlSortNormal ActiveSheet.Sort.Apply Case 2 ActiveSheet.Sort.SortFields.Clear ActiveSheet.Sort.SortFields.Add2 Key:=Range(“A2:A10”), SortOn:=xlSortOnValues, Order:=xlDescending, DataOption:=xlSortNormal ActiveSheet.Sort.Apply End Select End Sub - Run the AddSortDropdown macro to add the dropdown and a sorting button.

💡 Note: Ensure VBA is enabled and you have sufficient permissions to edit macros.
Method 4: Power Query for Dynamic Sorting
Power Query is excellent for handling large data sets and can include sorting functionality:
- Select your data range.
- Go to the Data tab and click From Table/Range.
- In the Power Query Editor, go to Home > Sort > choose the columns to sort by.
- Load the query back into Excel with sorting options preserved.

| Step | Description |
|---|---|
| 1 | Import Data |
| 2 | Apply Sort |
| 3 | Load Data |
Method 5: Using Conditional Formatting
This method doesn’t add a sorting dropdown but uses conditional formatting to highlight sorted items:
- Select your data range.
- Go to the Home tab, choose Conditional Formatting > New Rule.
- Select Use a formula to determine which cells to format
- Enter the formula to sort, like
=A2=$A$1for sorting by the value in A1. - Format the cells with a distinct color to visually highlight the sorted cells.

Through these methods, you've seen how versatile Excel is when it comes to sorting data. Each approach offers different levels of customization and interaction:
- The built-in Sort feature is simple but effective for quick sorts.
- Excel tables provide immediate sorting options for any data range converted into a table.
- VBA allows for custom sorting menus tailored to your specific needs.
- Power Query is your go-to for complex, dynamic sorting, especially with large datasets.
- Conditional Formatting gives a visual cue for sorted data, enhancing user experience.
By implementing these techniques, you can enhance your workflow in Excel, making data analysis not just quicker but also more engaging. Keep in mind that while some methods might take time to set up initially, they can significantly improve efficiency in the long run. Choose the method that best fits your scenario to achieve optimal results in sorting your Excel data.
Can I sort data in multiple columns at once?
+Yes, you can sort data in multiple columns simultaneously by using the Sort Dialog Box in Excel. You can add multiple levels of sorting by clicking the ‘Add Level’ button in the Sort window.
How does Power Query change the sorting behavior of data in Excel?
+Power Query lets you perform sorting transformations before loading data back into Excel, making it dynamic. Changes in sorting criteria applied in Power Query will automatically update in your Excel table or range.
What are the limitations of sorting with VBA?
+VBA macros for sorting can be powerful but require users to have macros enabled, and they might not work if Excel’s security settings block macro execution. Also, they need to be programmed for each sorting scenario you might encounter.
Is conditional formatting a good long-term solution for sorting?
+Conditional formatting isn’t ideal for long-term sorting as it doesn’t actually sort the data but highlights cells based on criteria. It’s better used as a visual aid to accompany sorting rather than the primary sorting method.
How often should I update my sorting methods?
+You should update your sorting methods when your data structure or analysis needs change. Keep in mind Excel’s updates might introduce new sorting functionalities or improve existing ones, which could be beneficial to adopt.
Related Terms:
- Membuat drop down list Excel
- Excel drop-down list
- SORTBY Excel
- Sort data Excel multiple columns
- Sort with condition excel
- excel drop down alphabetical order


