Redact Sensitive Data in Excel Easily

There's a common need among professionals from various industries to handle and analyze large datasets in Microsoft Excel. Whether it's for compliance with data protection regulations or simply maintaining the confidentiality of sensitive information, the process of redacting data can be both crucial and challenging. This guide aims to demystify this task, ensuring that even those who are new to Excel can easily redact sensitive data in their spreadsheets.
Understanding Data Redaction in Excel
Data redaction involves the process of masking, removing, or obscuring personal identifiable information (PII) or sensitive data within a document. In Excel, this can range from blacking out text, replacing actual values with placeholder characters, to entirely deleting information. Let's dive into how this can be achieved:
Methods of Data Redaction in Excel
- Manual Redaction: This involves manually selecting cells and hiding or altering content. It’s time-consuming but allows for careful inspection.
- Using Formulas: Excel's formulas can help automate some parts of the redaction process, making it more efficient for large datasets.
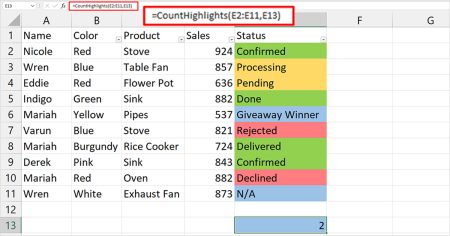
- Conditional Formatting: This feature can change the appearance of cells based on specific criteria, providing a way to visually indicate redactions.
- Macros: For repetitive tasks, writing a macro can streamline the process, especially useful for consistent redaction of specific types of information.
Step-by-Step Guide to Manual Redaction
Here’s a simple approach to manually redact data in Excel:
- Select the cells containing sensitive information. You can do this by holding the
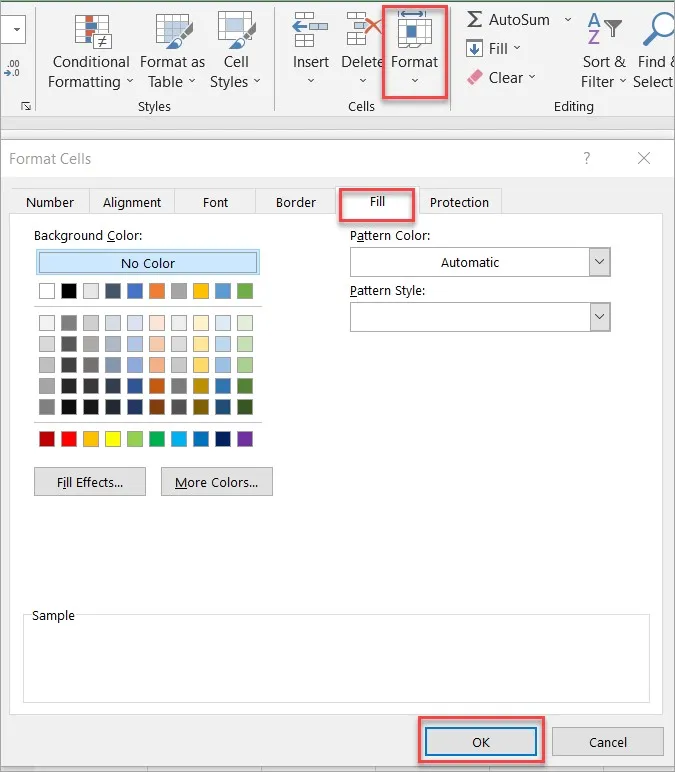
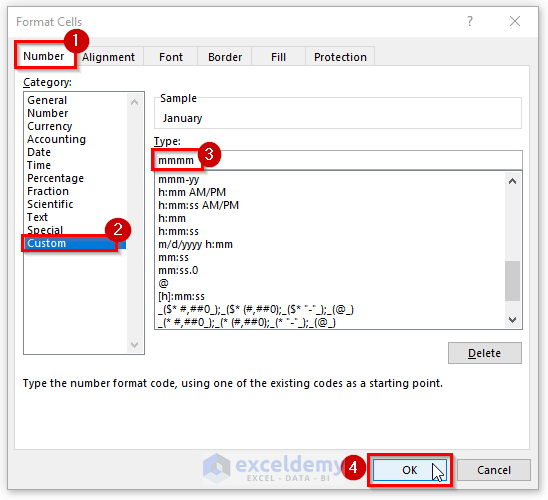
Shiftkey and clicking or dragging over the cells. - To redact text, right-click on the selected cells, choose Format Cells, go to the Number tab, and under Category, select Custom. In the Type field, enter three semicolons (;;;) to display nothing for the cell content.
- To hide content but keep the cell's structure, use conditional formatting to change the font color to match the background or enter blank spaces over the text.
Automating Redaction with Formulas
If you need to redact based on specific criteria:
- To replace names with "REDACTED", use a formula like
=IF(ISTEXT(A1), "REDACTED", A1), assuming sensitive data is in column A. - For dates or numbers, you might want to replace them with "##". You can use
=IF(ISNUMBER(A1), "##", A1).
Using Conditional Formatting
Conditional formatting can visually indicate redactions:
- Select the range of cells that might contain sensitive information.
- Go to Home > Conditional Formatting > New Rule.
- Select Use a formula to determine which cells to format.
- Enter a formula like
=ISNUMBER(SEARCH("ssn",A1))for social security numbers or adapt this to fit your needs. - Set the format to change the text color to match the cell's background or apply a fill color.
Advanced Redaction with Macros
For those who frequently redact large datasets, a macro can be a lifesaver:
Sub RedactSensitiveInfo()
    Dim rng As Range, cell As Range
    Set rng = Selection ‘The macro will run on the selected range.
    For Each cell In rng
        If InStr(UCase(cell.Value), “SENSITIVE”) > 0 Then ‘Checks for “sensitive” text
            cell.Value = Replace(cell.Value, cell.Value, “REDACTED”)
        End If
    Next cell
End Sub
⚠️ Note: Be cautious when using macros. They require coding knowledge and careful consideration to avoid accidental deletion or alteration of necessary data.
Tips for Efficient Data Redaction
- Before redacting, always save a backup of your original data.
- Consider using Data Validation to restrict inputs to non-sensitive formats.
- Regularly update your redaction methods to comply with changing regulations.
Why Data Redaction is Important
Data redaction in Excel is crucial for several reasons:
- Privacy Protection: Preventing the accidental or unauthorized release of personal information.
- Regulatory Compliance: Meeting legal requirements like GDPR, HIPAA, or other data protection laws.
- Business Confidentiality: Safeguarding proprietary or sensitive business information.
By ensuring that sensitive data is redacted, companies can avoid costly legal issues, fines, and damage to their reputation.
Common Mistakes to Avoid
- Not verifying the effectiveness of redaction: Always check to ensure no hidden data is still visible or accessible.
- Ignoring metadata: Excel files can contain metadata which might reveal sensitive information.
- Overlooking shared sheets: Ensure that redaction is applied uniformly across all workbook sheets and shared versions.
In summary, redacting sensitive data in Excel involves a combination of manual efforts, formulas, conditional formatting, and potentially macros. By carefully applying these techniques, you ensure that your spreadsheets remain compliant with privacy laws while still being useful for analysis and reporting. Remember, the goal is not only to obscure sensitive information but to do so in a way that preserves the integrity and functionality of your Excel workbook.
How do I ensure that no sensitive data is visible in printed Excel sheets?
+Before printing, use Excel’s page layout options to set print areas or hide columns/rows containing sensitive data. Also, consider using the Page Setup to disable gridlines or row/column headings if they might reveal data patterns.
Can I revert a redacted cell to its original content?
+If you’ve used formulas or macros for redaction, you would need to have a backup of the original data. Without a backup, data altered with custom formatting can be revealed by selecting General in cell format, but for data entirely replaced, recovery isn’t feasible.
Are there any tools specifically designed for Excel data redaction?
+While Excel itself provides ample tools for basic data redaction, there are third-party add-ins and software available that can offer more comprehensive features for managing and redacting sensitive data in Excel.
Related Terms:
- Excel redaction toolbar
- Redact in PDF
- how to redact sensitive data
- can you redact in excel


